
Optimizing images on your website whether it’s an e-commerce store, a blog, or both is one of the most important things thing that you can do to improve its performance. And it shouldn’t be a complex task really. Sure, high-res images look great but when you’re loading a 2MB image, it’s going to do more harm than good.
Essentially, you’re going to want to aim for a small image file size without compromising quality. As a rule of thumb, don’t let the images look bad or pixelated just for the sake of being smaller in size. You should strike a balance between a good-looking image and an acceptable image size. Here are a few ways on how to optimize images for the web.
Optimizing Images for Web Using Photoshop
Optimizing images for the web is not at all difficult. If you have Photoshop (or any other image editing software), it’s a very simple process. Open the image on Photoshop and resize or crop your image to the appropriate size. Remember, when sizing images, the images you plan to use should not have a larger resolution than the image placeholder.
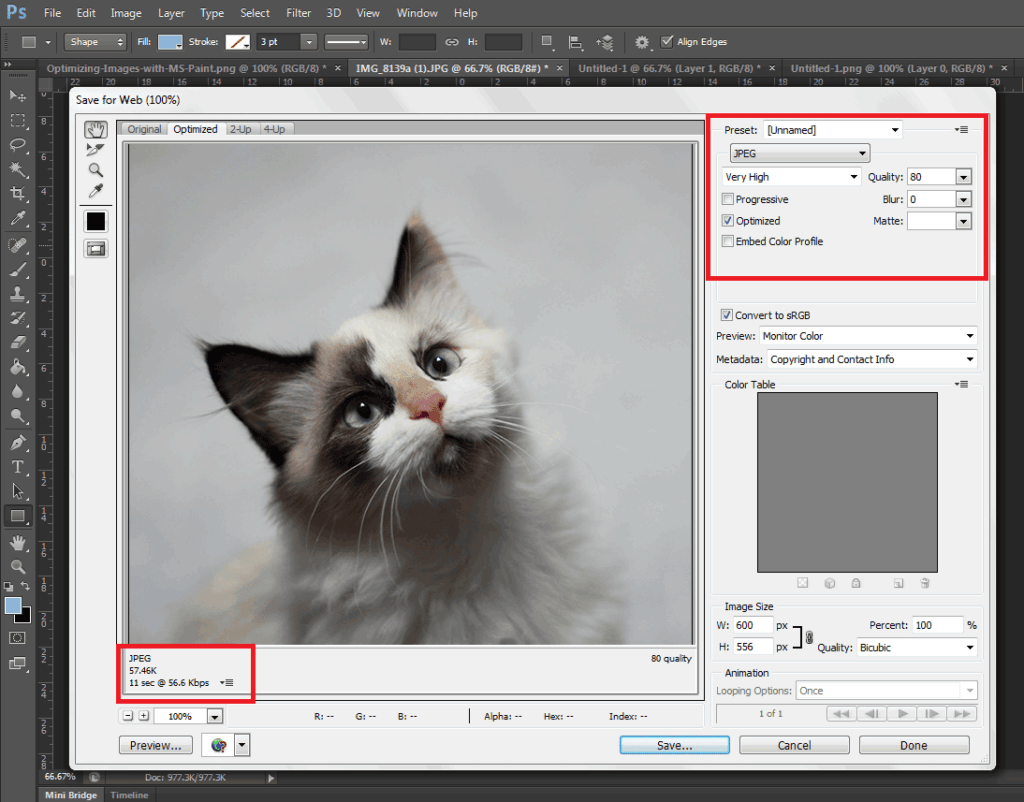
When you have resized your image to the appropriate resolution, click on File and Save for Web (Ctrl + Shift + Alt + S). Here you’ll be able to set the quality of the image while being able to see if the image still looks good. The image should not look pixelated and not have artifacts. In the bottom left section, you can see the file size of the image. You’re going to want to aim for an image that looks good, is not pixelated, and is less than 100kb in size — the smaller the size the faster the image loads on the page. On the upper right-hand section of the “Save for Web” window, you can use available presets or set the quality to your desired quality. Make sure you have the Optimized box is ticked and choose the correct file type. When you achieve a small file size with a good-looking image, click on Save.
A Note on Image Types
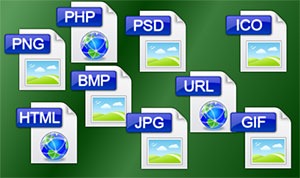
An important thing to note to make images look good even as you scale them down is to set the correct file type. Notably, the JPEG type is used for photos as it supports the most number of colors at 16 million. PNG is the better choice if you’re working with graphics such as logos and icons since it makes use of lossless compression. Lossless compression means that the image can be made smaller without affecting quality. PNG supports thousands of colors as well as transparency. JPEGs don’t support transparency.
GIF images are similar to PNG. It uses lossless compression and supports transparency. It however can only store a measly 256 colors. Using GIF images on web pages is generally not recommended.
Serve Images in WebP Format
We also recommend converting your image files to the modern webp image file format since these are smaller in size and are thus recommended for achieving optimum site performance. Uploading webp files are still not recommended however as there are still devices and browsers that do not support it. There are however plugins and services that allow converting regular image file types to webp and serve these images when it is supported by the user’s device. WP-Optimize is one plugin that provides free webp conversion.
Optimize Images Using WordPress Plugins
We also recommend having an image optimization plugin installed on your WooCommerce store. There are many image optimization plugins to choose from such as EWWW Image Optimizer, reSmush.it, Robin Image Optimizer. Once you set up these plugins, they will optimize your images on upload. Do note, however, that these image optimization plugins will not alter image resolution so it is still recommended to upload images in the correct resolution not exceeding the image placeholder size.
Properly Naming Files
A thing to note when naming files is to name files as they are. Don’t name files after a keyword when it is not appropriate. If you’ve got an image of a child playing the violin, name it something like “child-playing-violin.jpg” and not something like “learn-violin-online.jpg” or “free-violin-course-online.jpg”. If you try to force your SEO keywords on your image file names, your site may be flagged for overoptimization.
Optimize your images to ensure your site performs well. A fast e-commerce website provides a good user experience which translates to better SEO rankings and improved conversion rates.


Leave a Reply