 If you are creating an e-commerce store, chances are you’ll want a static page as your home page and not a blog or posts page which is the default home page for many WordPress themes. We’ll cover how you can do this in this article.
Before we dive deeper into this and assuming you are using Woocommerce, it might be a good idea to try the Woocommerce Storefront Theme. Since the theme was built and is being maintained by the people behind Woocommerce, you can be assured that it integrates well with all Woocommerce features. Whenever a new version of Woocommerce comes out, you can be sure that it is optimized for the Storefront Theme. There is less chance of updates breaking your site.
Create a Page
The first step to creating a static home page in WordPress is to create the page that you want to set as your home page. On your WordPress Dashboard, hover over “New” and click on “Page”. Alternatively, you can hover over “Pages” and click on “Add New”.
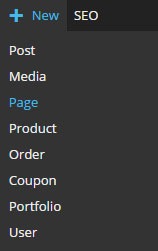
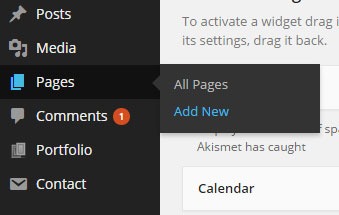
After that, just add the content you want on the page; format it accordingly then publish it. It is best practice to set the title of this page as “Home”.
Setting the Page as Home Page
To set the page you just created as your home page, go to “Settings” then click on “Reading”. Under “Front page displays”, tick on “A static page” then under “Front page” choose “Home” or whatever you named the page you are going to use as your home page.
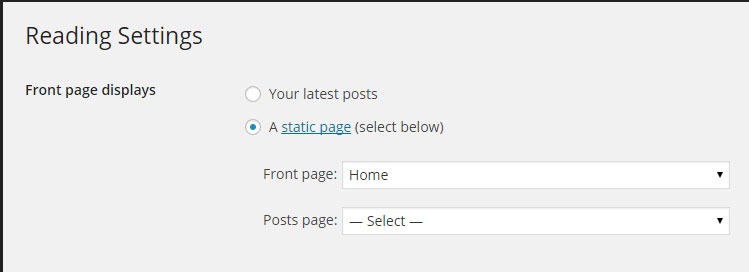
When that’s set, you’re done.
If you want a more powerful tool to help you create a good-looking home page without needing to know any sort of coding, we can recommend the SiteOrigin Page Builder plugin. This plugin enhances the content editor into a drag and drop widgetized editor which allows for easy creation of responsive grid-based pages. This plugin is optimized for the WordPress engine and will work with any theme that you are running. Let yourself create stunning pages that look like they were done by a professional web developer.
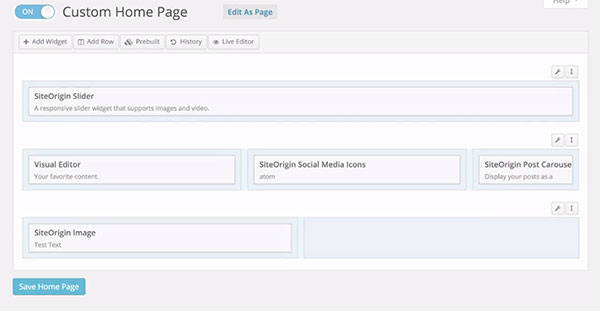
If you have any comments or questions, just hit the comments sections and we’ll get back to you.
 Many online entrepreneurs tend to overlook the value of emails because of the rise of social media and other marketing strategies. In reality, it remains one of the best means of delivering promotional messages to potential customers.

 How fast your website loads affects your conversion rate and ultimately, your revenue. If it takes 12 seconds to load up your website, that’s just a little too long and many potential clients could be annoyed and just click on the close button; go back to Google and click on something else. If that’s not bad enough, that person could forever remember that your website is that one website that loads very slowly. Any chance of converting from that person is gone.
 Now that we know what caching and minification is, it’s time to get to know how to implement it. If that sounds all too complicated, don’t worry. It is really very simple. All you need is one plugin to do both. That’s the beauty of WordPress. Seemingly complicated stuff becomes easy work. For this bit, we would recommend the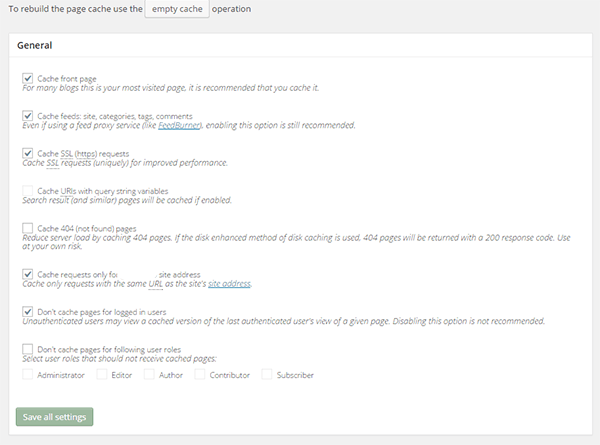
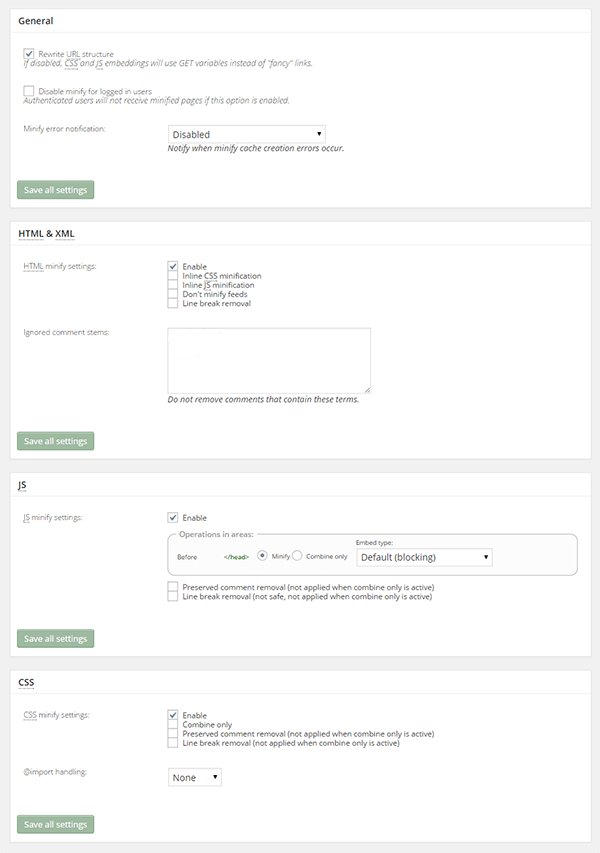
 You might have read a few, or maybe a ton of articles about optimizing your website page load speeds. You might already know a few strategies like
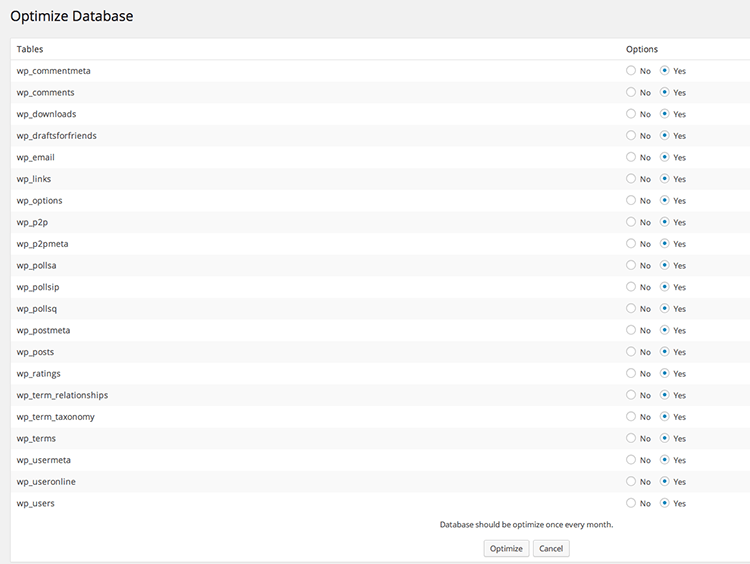
  If you don’t know what the database is for, then you might be surprised just how important it is. WordPress makes use of PHP to communicate with the database which contains important information such as posts, pages, your WooCommerce products, comments and product reviews, users and customer information, URLs, etc.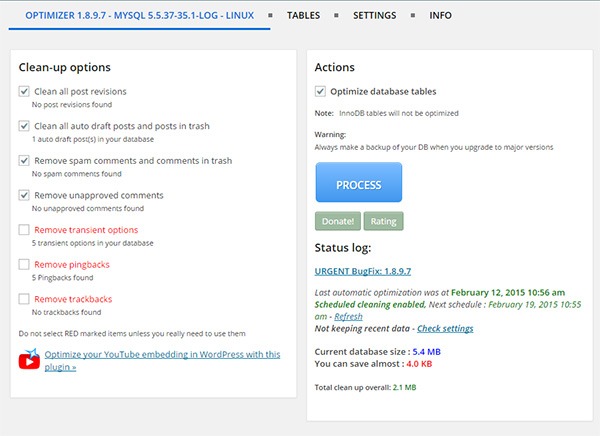
 For every website owner, there will always come a time when your website will go down. Often, this could be because of a downtime on your hosting service, but sometimes it’s because of some other reason. Maybe your website has been compromised or you did something that caused your site to go down. Notably, if you’re going to be doing some major work on your site, you shouldn’t be doing it without creating a backup first so you can restore your website to a working state just in case you mess something up. Here, we’ll teach you how to backup your WordPress site.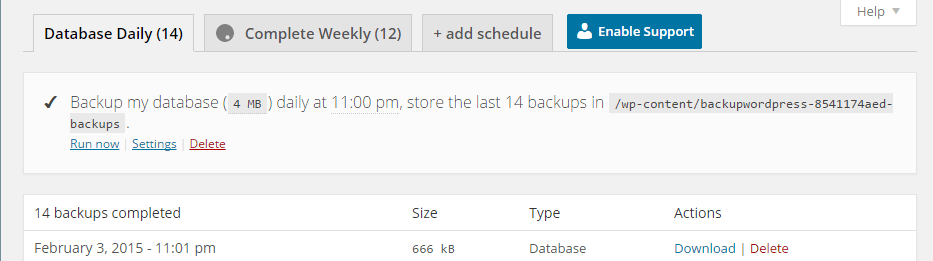
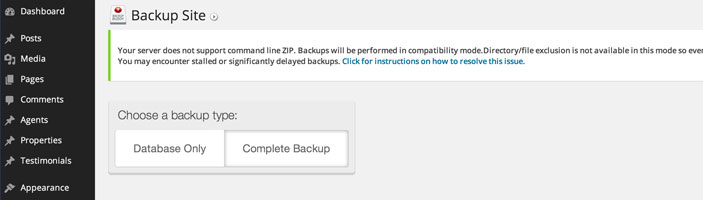
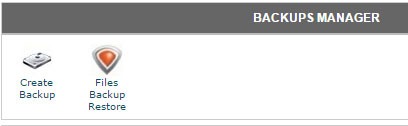 To create back-up using CPanel, navigate to Backup Manager and click on Create Backup. Where it says Download a MySQL Database Backup, just click on the database and download. A simple enough process but using a plugin just saves you from the trouble of doing this manually.


