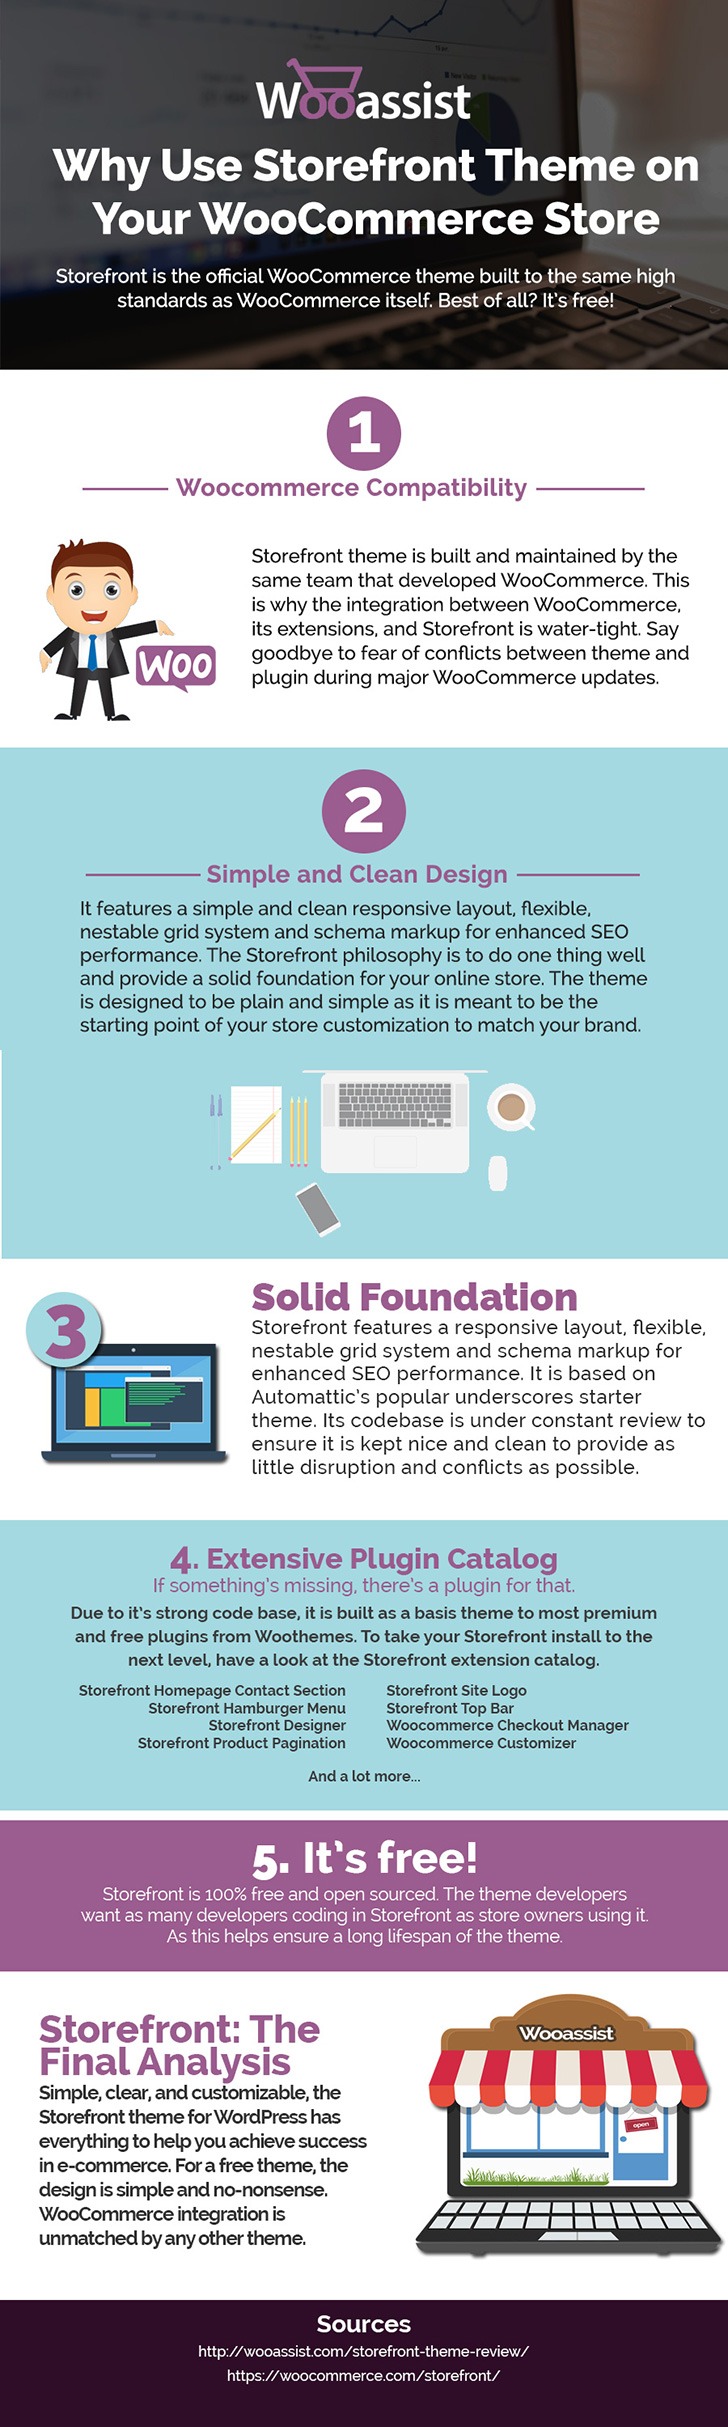
Having a blog has a huge impact on e-commerce sites. A blog helps drive up to 55% more traffic. Blogs are all about providing relevant content to drive visitors to the site. Most blogs in the past prefer the full post display but recently, the snippet view or blog excerpts view has become quite popular. With blog excerpts view, the blog content is more scannable, with posts lined up and a Read More button available after each one. This lets the visitor browse through the posts and just click on the article he/she wants to read more about. In this article, we talk about how to show only blog excerpts in Storefront.
Why Show Only Blog Excerpts?
Increased Visibility
When you have a lot of posts on your blog, displaying only blog excerpts will make more of your content visible. Your latest post may not be the one that the reader is interested in. Having short excerpts of each post will show your visitors that you have a lot of content that they can indulge in.
Ease of Use for Visitors in Choosing Content that Interests Them
With a lot of posts in view, your visitors will be able to easily choose which article to read. This also helps bring more attention to your old posts so keeping those old posts updated with new information will also pay dividends. Readers can scan the blog page easily and may click not just one, but several articles that spark their interest.
Trims Down Lengthy Posts
If you create a lot of long blog posts, then having an excerpts view will make your blog more manageable. A 2000-word blog post is enough to cover a few screens which take attention away from other posts in a full-length view.
Reduced Page Load Times
Since you are only loading post snippets, your blog page will load much faster. Just imagine the number of images on a few of your blog posts and how much longer it would take to load all those.
Increased Page Views and Time on Site
With more content to browse through, showing only blog excerpts will increase your page views. And as visitors read more of your content, you also effectively increase user’s time on your site giving more opportunity for conversion.
Displaying Blog Excerpts in Storefront Theme Using a Plugin
You can switch to a blog excerpts display by editing the WordPress template files. However, you have to be familiar with the WordPress loop and edit the normal content with the excerpts function. An easier method is to use a plugin.
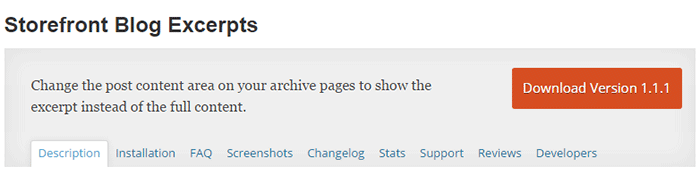
The Storefront Blog Excerpts plugin is made to work with Storefront theme by WooThemes. This also adds a section in the WordPress Customizer for you to modify how to display your blog content in excerpts view.
How to Use Storefront Blog Excerpts
- In the plugins page, click “Add New”. Search for “Storefront Blog Excerpts” in the WordPress repository. Click on “Install” then activate the plugin.
- After activation, the blog archive will be automatically replaced by the excerpts display.
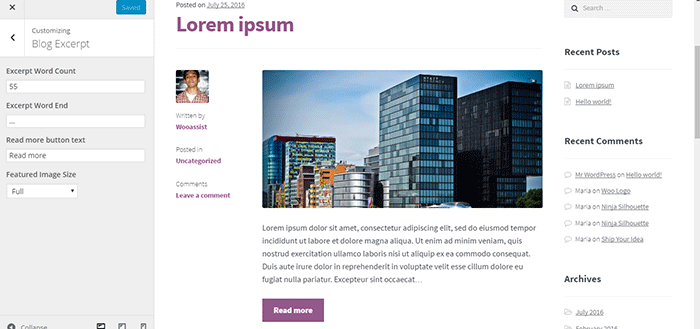
- You can further customize how your blog archive is displayed. Go to the Appearance > Customizer and find the Blog Excerpts section.
- You can modify the following properties in this section.
- Excerpt word count – The default value is 55. The average word count of an academic paragraph is around 100 – 200. 55 is around half of it. Based on this, adjust how many words you want to display in each excerpt.
- Excerpt word end – The default value is “…”. You can customize on the symbols that you can use to indicate a continuation. Other not so common symbols are “>”and “->”
- Read more button text – The default value is “Read more”. This is the basic call-to-action. You can be more descriptive on the text and try “Go to Full Article”.
- Featured image size – The default value is “Full”. Here, you can choose different sizes of feature images.
Have you tried displaying only blog excerpts on your WooCommerce store’s blog? If you haven’t, you should consider doing it as it might just get you more page views and increased time on site. If you have tried the plugin above, let us know your experience about it and your ideas on how it can be improved.
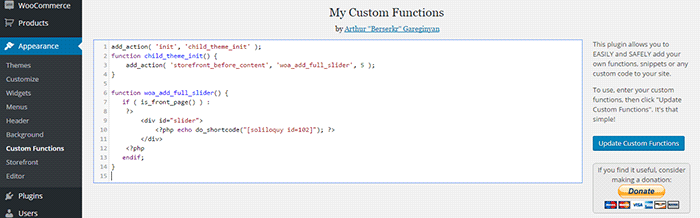
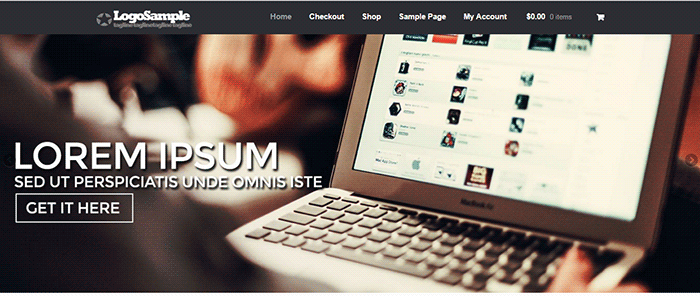 Content sliders, also known as carousels, can contain complex arrangements of images, video and HTML content usually found top and center on your home page. Storefront however is about simplicity and by itself does not support sliders. You can however add a slider with the help of a plugin.
 Many websites overuse sliders and there has been a lot of debates about having sliders. E-commerce websites are able to present their products/services in a visually appealing way with the help of a slider. But a word of warning; sliders are not for every website. Many experts actually advise
 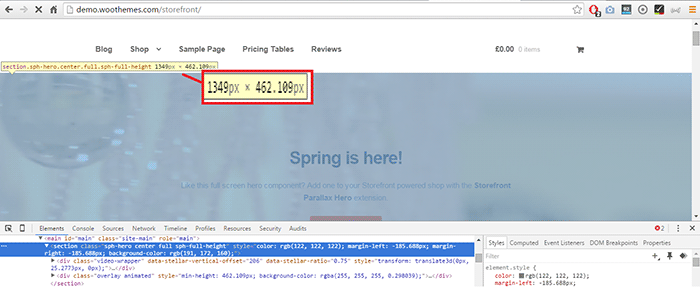 You will most likely receive a large file from your graphic artist since the file will contain layers and other information about the image. You should request another copy that’s ready for web publishing or you can
 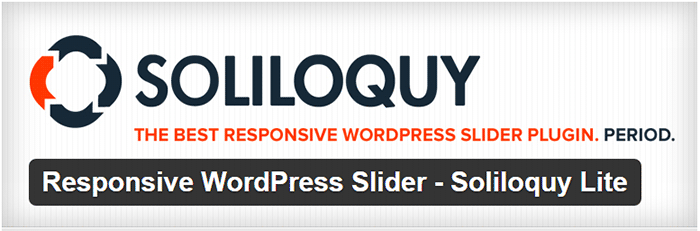 Soliloquy Lite
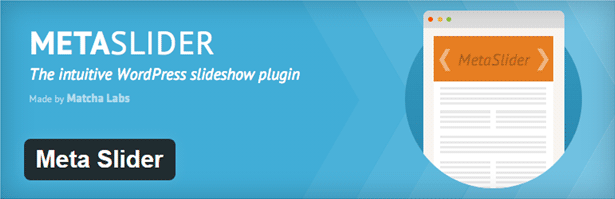 Meta Slider
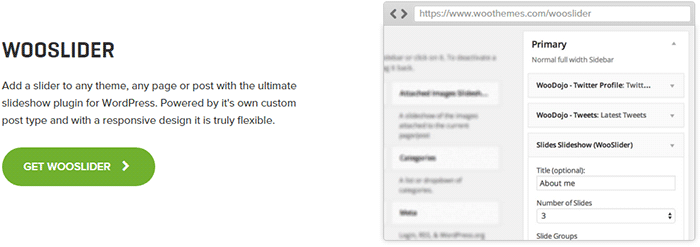 WooSlider was made by WooThemes, the same people who developed WooCommerce and Storefront theme. Hence, you can expect that the plugin will work perfectly with WooCommerce and Storefront. WooSlider is a premium plugin and you can find out more about it in the
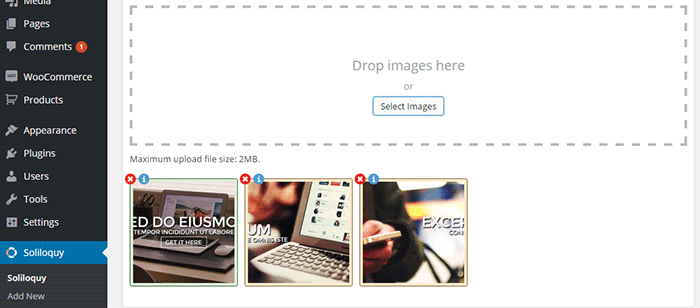

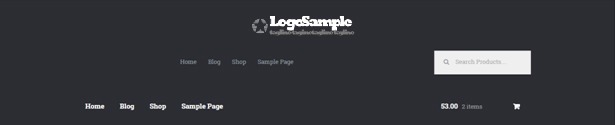


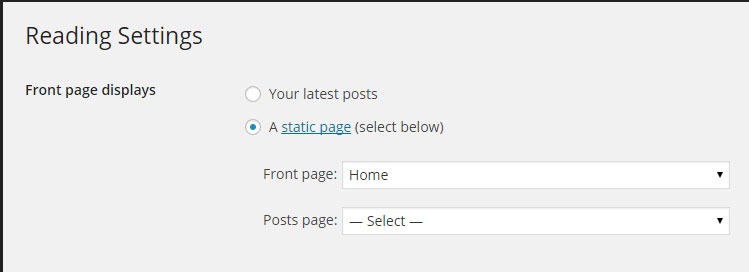
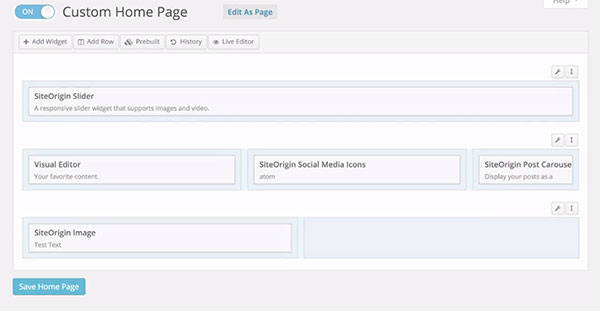
 If you are creating an e-commerce store, chances are you’ll want a static page as your home page and not a blog or posts page which is the default home page for many WordPress themes. We’ll cover how you can do this in this article.